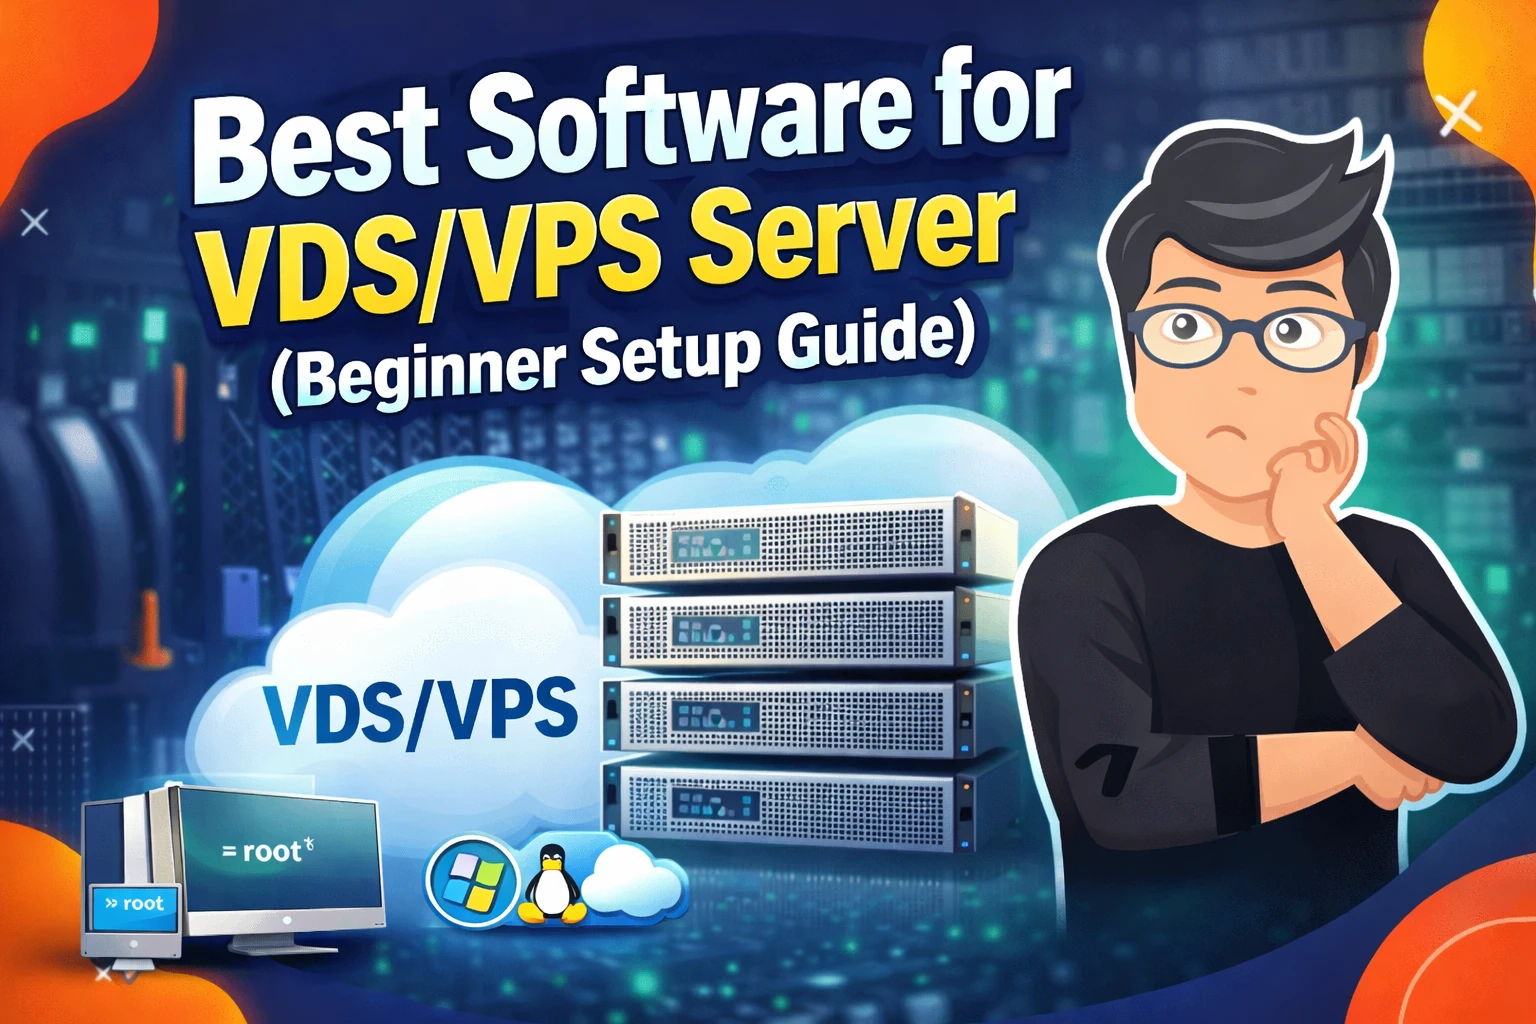
This post walks through setting up a secure VLESS Reality VPN on Ubuntu with 3X-UI. I’ll cover the VPS basics, the main configuration steps, a few practical security tweaks, and how to connect from your client devices—handy if you’re after something fast, modern, and a bit more low-profile than a typical VPN.
Okay, let’s talk about getting your network set up with secure and solid connections. Old-school VPNs can be a pain. All those TLS setups and certs? Yeah, they can make things complicated to run and keep up-to-date.
That’s where VLESS Reality comes in. It’s a cool, new way to move data that’s based on the Xray core. Basically, it makes setting up secure VPNs much easier, and it still plays nice with normal HTTPS stuff. Plus, when you use it with 3X-UI, you get a simple web interface to handle all your VPN connections.
So, in this guide, I’ll walk you through what VLESS Reality is all about and show you how to get it all set up with 3X-UI, step by step.
This guide covers VLESS Reality, but there are many ways to secure your network. For another straightforward approach to setting up your own private VPN server, check out our guide on how to Set Up Secure VPN Server: 7 Easy Steps with Amnezia (Full Guide).
Table of Contents
Why Use VLESS Reality with 3X-UI
3X-UI is a web-based management panel for Xray-based services. It provides:
Centralized inbound and client management
Easy generation of client configurations
Traffic and connection monitoring
UI-based configuration of advanced transports
It is suitable for both testing environments and production deployments.
3x-ui vless reality web dashboard
Step-by-Step VLESS Reality Setup on Ubuntu
1. Choosing a VPS Hosting Provider
When planning a VLESS setup with XTLS-Reality on Ubuntu, selecting the right VPS hosting provider is an important first step. A suitable virtual private server ensures reliable performance and a stable network connection for your VPN infrastructure.
VPS Requirements for VLESS Reality VPN Ubuntu
For a comfortably performing instance, the following minimum specifications are recommended:
CPU: 1 vCPU
Memory: 1–2 GB RAM
Storage: 10 GB SSD or more
Network speed: At least 100 Mbps
These system requirements are sufficient for most small to medium workloads and provide responsive connectivity for everyday use.
When evaluating hosting providers, consider also:
Uptime guarantees
Data center locations
IPv4 availability
Ease of management (console access, snapshots, etc.)
Choosing a provider that meets these criteria will help ensure a stable and manageable environment for your server deployment.
When selecting a VPS hosting provider, reliability, modern hardware, and network performance are key factors. Two providers that I personally use and can recommend for stable server deployments are Aeza.net and Senko Digital. Both offer modern infrastructure and consistent performance, making them suitable choices for hosting a VLESS with XTLS-Reality setup on Ubuntu.
Aeza.net
Aeza.net provides VPS solutions based on modern server hardware and SSD/NVMe storage. It is suitable for users looking for flexible configurations and stable network performance across multiple data center locations.
Senko Digital offers VPS and dedicated server solutions with a focus on performance and simplicity. Their infrastructure is hosted in European data centers and designed for consistent uptime and reliable connectivity.
After purchasing a VPS server, the access details are typically provided in the hosting provider’s control panel. In most cases, these credentials can be found in the My Services or Services section.
The standard login information usually includes:
Server IP address: 192.355.34.14 (example)
Username:root
Password: automatically generated by the provider
These credentials are required to establish an initial SSH connection to the server and perform basic system configuration.
For security reasons, it is recommended to store this information securely and update the default password after the first login.
Example Aeza.net
Example Senko Digital
In the Senko Digital control panel, detailed information about the VPS server is available directly from the service management section. After selecting the active server, you can access comprehensive connection and configuration details by opening the Instruction Manual section.
3. Downloading PuTTY
Once you have obtained the VPS server access details, the next step is to prepare a tool for connecting to the server via SSH. On Windows systems, this is commonly done using PuTTY, a lightweight and widely used SSH client.
PuTTY allows you to securely connect to a remote VPS and perform initial server configuration tasks through the command line.
You can download PuTTY from the official download page:
After clicking Open, a terminal window will appear and prompt you to enter your login credentials.
At the login prompt, enter the following:
Login:root Press Enter
Next, copy the password provided by your hosting provider and paste it into the terminal by right-clicking the mouse. In PuTTY, right-click automatically inserts the copied text.
Note: For security reasons, the password will not be visible while typing or pasting. This is expected behavior.
After pasting the password, press Enter. If the credentials are correct, the SSH connection will be established and you will be logged in to the server.
Logging In to the VPS via SSH
6. Server Preparation
Before we get into the nitty-gritty of setting things up, it’s a good idea to give your server a little TLC. This means updating its system and tweaking a couple of network settings.
Start by updating all the system stuff. This makes sure everything is up-to-date and secure.
Also, think about turning on BBR. Google made it, and it helps your network run smoother and stay connected better. It basically makes better use of your bandwidth and lowers lag, which is super useful for servers.
7. Updating the System and Enabling BBR
After logging in to the server, the first step is to update the operating system packages. This ensures the server is running the latest stable versions with recent security fixes.
Next, you can enable BBR, a modern TCP congestion control algorithm that helps improve network throughput and connection stability.
To execute the commands, copy them from the guide and paste them into the terminal window using the right mouse button. In PuTTY, right-clicking automatically inserts the copied text.
After pasting each command, press Enter to run it.
After the system update is completed and BBR is enabled, the command-line interface will return to the standard shell prompt. At this point, the server is ready for the next configuration steps.
Updating the System and Enabling BBR
8. Installing 3X-UI
After completing the initial server preparation, you can proceed with installing 3X-UI, a web-based management panel used to configure and manage Xray-based services, including VLESS with Reality support.
The installation process is automated and performed using an official installation script.
To begin installation, copy the command below, paste it into the terminal using the right mouse button, and press Enter:
The script will download and install all required components automatically. During the process, the installer may prompt for basic input or display progress information in the terminal.
9. Picking Your 3X-UI Port
When you’re setting things up, the installer will ask you to pick a port to get to the 3X-UI online stuff.
Just grab any port that’s free on your server. Like this:
2345
You’ll use this port to open the 3X-UI panel in your browser.
Type in the port number, then hit Enter to keep going!
Picking Your 3X-UI Port
During the installation process, the installer will prompt you to configure an SSL certificate for the 3X-UI web panel. This step enables encrypted HTTPS access to the panel interface and helps protect login data during administration.
At this stage, you will be offered several options:
Option 1 — Free SSL certificate for a domain name Select this option if you have a domain name pointing to your VPS server. After choosing option 1, you will be asked to enter your domain name (for example, example.com). The installer will automatically issue and configure a free SSL certificate for the panel domain.
Option 2 — SSL certificate for the server IP address Select this option if you do not have a domain name available. In this case, the installer will configure HTTPS access for the panel using the server’s IP address.
We’re going with option two here. It sets up the SSL certificate using the server’s IP. This way, you get safe HTTPS access to the 3X-UI panel, even without a domain.
Using either option allows secure access to the 3X-UI web interface without requiring manual certificate setup. The installer handles the entire certificate issuance and configuration process automatically.
10. How to Get to the 3X-UI Menu
Once installed, you’ll see a message saying it’s ready.
How to Get to the 3X-UI Menu
Then, to get to the 3X-UI menu, just type this into the terminal and hit Enter:
x-ui
This pops up a menu where you can check things, change settings, and handle basic stuff in 3X-UI.
3X-UI menu
Okay, here’s how to reset your 3X-UI panel login:
Open the 3X-UI menu with the x-ui command and pick option 6 to reset your login info. The system will make new credentials and show them to you. Just save these in a safe place so you can log in through your browser later.
3X-UI panel login
11. Enabling Fail2Ban for Panel Protection
To keep your 3X-UI web panel secure, it’s a good idea to turn on Fail2Ban. It’s a helpful tool that blocks IPs that try to log in too many times or seem like bots.
Here’s how to turn it on:
Go to security settings by selecting option 20.
Choose option 1 to turn on Fail2Ban.
Click y
Once you say yes, Fail2Ban will watch for login tries and block anything fishy. This makes your service more stable and keeps unwanted users out.
Enabling Fail2Ban for Panel Protection
What if I accidentally exit the 3X-UI management menu?
If you accidentally exit the 3X-UI management interface in the command line, you can reopen it at any time by entering the following command and pressing Enter:
x-ui
This command will bring you back to the 3X-UI management menu.
This command will bring you back to the 3X-UI management menu.
3X-UI management menu
12. Accessing the 3X-UI Web Panel
Once you’re done setting things up in the 3X-UI menu, pick option 10 and hit Enter.
You’ll then see the panel access details, like the Access URL for the 3X-UI web thing.
It’ll look like this:
https://85.147.118.102:2053/mXRMOUUzE7Vop1ckE7/
Copy this access URL and paste it into your browser. You will see the 3X-UI login page, where you can enter your registration details that we created in step 10
13. Logging In to Your 3X-UI Web Panel
So, you’ve got your Access URL? Sweet! Just paste that into your browser, and boom – you’re at the 3X-UI login page.
Logging In to Your 3X-UI Web Panel
Logging in is easy:
Type in that username you made.
Then, pop in your password.
Hit that Login button!
If you got everything right, you’ll jump straight to the 3X-UI dashboard. From there, you can set stuff up, watch those connections, and tweak your server settings.
3X-UI dashboard
14. Changing Your Panel’s Access Link
Once you’re in the 3X-UI dashboard, just head over to Panel Settings.
You’ll see a URI Path box there. Sometimes, it has extra stuff in it, making your panel link longer than needed.
To make the link shorter:
Empty the URI Path box.
Save your changes.
Now, you can get to your panel with a simpler link. It’s easier to remember! This just cleans things up for you.
Changing Your Panel’s Access Link
After making any changes in the 3X-UI panel settings, make sure to click Save to apply the updated configuration.
In addition, it is recommended to restart the panel after configuration changes to ensure that all settings are applied correctly and the interface continues to operate as expected.
15. Xray Config
Go to Xray Config in the 3X-UI panel.
Set Freedom Protocol Strategy as shown in the screenshot
Set Overall Routing Strategy according to the same configuration
After applying the settings, click Save and Restart the panel.
Xray Config in the 3X-UI panel.
16. Basic Routing
Go to Basic Routing in the 3X-UI panel.
Select the country you are currently located in. A direct connection ensures that specific traffic is not routed through another server.
Configure the following options according to your location:
Direct IPs
Direct Domains
Basic Routing in the 3X-UI panel.
After making the changes, click Save and Restart the panel.
17. DNS Settings
Next, go to DNS in the 3X-UI panel and enable DNS.
In the DNS section:
Click on the three dots (⋮)
Select Cloudflare as the DNS provider
Enable Fake DNS
After applying the changes, click Save and Restart the panel.
DNS in the 3X-UI panel and enable DNS
18. Creating a New Inbound
Next, proceed to configuring the connection itself.
Go to Inbounds in the 3X-UI panel and click Add Inbound to create a new inbound configuration.
Inbounds in the 3X-UI panel
Complete the remaining inbound settings according to the values shown in the video.
Make sure all parameters match the demonstrated configuration. After finishing, save the changes and restart the panel if required.
Creating a New Inbound
19. Adding Users and Client Applications
Users can be added to the inbound configuration as shown in the video. The process allows you to create multiple client profiles for different devices.
Сonfiguring a secure 3x-ui VPN connection
For client applications, I personally use Hiddify on both PC and mobile devices. It supports the required connection formats and provides a convenient interface for managing profiles.
After adding users, export or copy the connection details and import them into the client application.
20. Using Subscription-Based Configuration
It is recommended to connect clients using a subscription link rather than manual configuration. Using a subscription allows the VPN settings to be updated automatically in the client application.
Using Subscription-Based Configuration
This approach is more convenient because:
there is no need to manually update connection details
changes are synced automatically to both PC and mobile devices
managing multiple users and devices becomes easier
Subscription-based connections are especially useful when using clients like Hiddify, as they simplify ongoing configuration management.
21. Sharing the Subscription Link
When managing a user, click More Information. A window will appear containing the Subscription Link.
Sharing the Subscription Link
Copy the Subscription Link and share it with the user. When the link is opened, a page will appear displaying:
a QR code for quick subscription import
a list of supported VPN clients compatible with 3X-UI VLESS Reality
This page provides convenient options for setting up the connection on Android and iOS devices, allowing users to easily add the subscription to their preferred client application.
This page provides convenient options for setting up the connection on Android and iOS devices,
Wrapping Up
So, we just walked through setting up 3X-UI with VLESS Reality on an Ubuntu VPS. We started with prepping the server, then got the panel installed, tweaked some basic security, and set up your client.
3X-UI makes things easier to handle with its web interface, and using subscription-based client is way easier to use across all your gadgets. It’s a setup that works great whether you’re on your computer or phone.
Once you get the server all set and connect your devices with those subscription things, you should be good to go for the long haul.
As an SNI, it’s better to have your own website with a custom domain hosted on the same server where you configure the VPN. It’s also recommended to route DNS requests through DNS over HTTPS (DoH), which can be implemented using Cloudflared.
Got Questions?
What’s the least amount of power my server needs?
For the basics, a server with 1 vCPU, 1–2 GB of RAM, 10 GB of SSD, and a network speed of 100 Mbps should do the trick.
Do I have to have a domain thing for 3X-UI?
Nope. You can use a domain or just stick with your server’s IP address to get to the panel via HTTPS. Either way works.
Why bother with a subscription instead of setting things up myself?
Subscriptions make things auto update, so you don’t have to mess with redoing your VPN settings on every single device you own.
What apps can I use with this?
3X-UI plays nice with a bunch of them. We used Hiddify on both computer and phone, but you can see other apps that work when you open that subscription link.
Do I really need thing called Fail2Ban?
It’s not a must, but it’s a good idea. It keeps the panel safer by blocking anyone trying to get in without permission too many times. It just makes things run smoother.
Gotta restart after I change something?
Yep. Save those changes and give the panel a restart to make sure everything sticks.
 1")
 2")
 3")
 4")
 5")
 6")
 7")
 8")
 9")
 10")
 11")
 12")
 13")
 14")
 15")
 16")
 17")
 18")
 19")
 20")
 21")
 22")
 23")
 24")
 25")
 26")
 27")
 28")
 29")
 30")
 31")


 33")